What is different in version 3.0.0 ?
Contents
Introduction
Starting with version 3.0.0, some components of the project were changed fundamentally. The manual is still getting updated, but this page summarizes the most important changes.
Setup
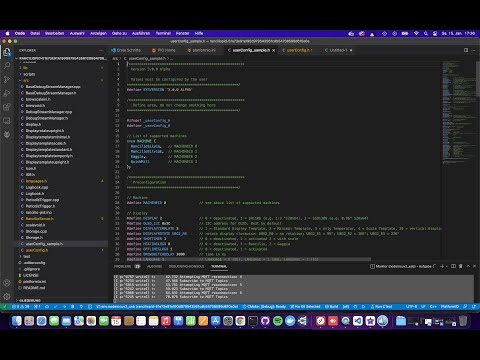
Arduino IDE is not supported anymore. With version 3.0.0 we fully rely on Platform IO and VS Code.
Features
Wifi Manager
For the initial configuration of the PID a WiFi manager is used. During the first boot of the ESP a temporary WiFi access point is created: name “silvia”, password “CleverCoffee”. This can also be configured in the userConfig.h file. After connecting with the access point, a page should open automatically where you can see a list of all local WiFi networks. Pick your local WiFi and enter your password. The ESP will remember this connection and connect to it automatically at start.
Web Interface
The ESP hosts a dedicated web interface. Usually, you can find it at http://<<HOSTNAME>>.local. You can find the hostname in file platform.ino in value upload_port, please also see chapter Remote Monitoring. Note: Only devices in the same network as the ESP can open the web interface! By default, configuration sets http://silvia.local.
Alternatively, you can find out the IP address of your ESP by checking the list of connected WiFi devices in your home router, or with the monitor command in PlatformIO, while the ESP is still connected via USB. We recommend to configure a static IP address and hostname for the ESP in your router, so that you can always reach the web interface of the PID the same way.
How can I upgrade from an older version (2.x or older)?
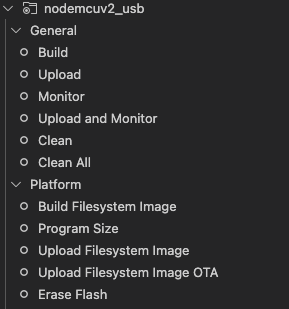
You have to complete the following important steps before upgrading, otherwise the PID might not work correctly. Connect your ESP to the computer via USB and open PlatformIO (VS Code):
| Step | Explanation |
|---|---|
| 1. Erase Flash Storage | nodemcuv2_usb -> Platform -> Erase Flash |
| 2. Build and upload file sytsem | nodemcuv2_usb -> Platform -> Upload Fileystem Image |
| 3. Build and upload firmware | nodemcuv2_usb -> General -> Upload |
All three steps must be completed in this order.
Help us!
If you find any bugs or similar, please let us know.